First you'll need the background. I chose squares that were 9-1/2"
I like lights but they don't have to be white by any means.


Each block requires 4 squares. It'll yield 4 blocks.
Next are the circles. There are 3:
Outside one is 7". I cut a piece of paper using a compass (or a bowl)
Middle circle is 5-1/2"

Last one needs to be 3-1/2". These don't have to be exactly those sizes. You just want them to be smaller as they go in.

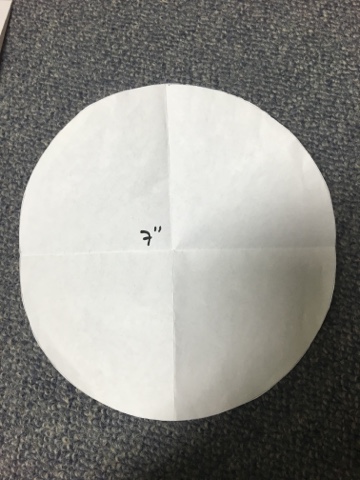
I take these circles and fold them in quarters:

You can start to pick out fabrics. There needs to be contrast between circles. The larger circle is going next to your background so it needs to contrast with the background.


The 3-1/2" circle is going on top of my red one so I want something contrasting again.

How many will you need? That depends on how large you want your quilt to be. A block will finish at 8":

My quilt has 48 blocks, 6x8, and has a 4" border. It is 56x72.

Now you can start to cut out your fabrics. I put the folded circle onto fabric folded in quarters (after measuring to be sure the fabric is large enough obviously)!!
Remember that each block requires 4 different fabrics and will yield 4 blocks.


I'm going to recommend that you cut your background squares and the first large circle for this first installment. Center the large 7-1/2" circle on the background square and stitch along the edge of the circle approximately 1/4" from the edge. For my size quilt, you'll need to do this 48 times! Remember this doesn't have to be perfect. No need to pin or measure or mark!!

That's it for this part. In 2 weeks on January 25, we will cut out the other circles and sew them down on top of each other.
Two weeks after that we will cut the squares apart and resew them together.
Let me know if you have any questions.
A number of you asked which doll quilt I took home from Wisconsin so here is my winning:

The one I made was this one:

Thanks for sharing your quilts from the swap. : )
ReplyDeleteSo funny ! Thanks for the tutorial !
ReplyDeleteThe doll quilts are pretty !
Are your circles appliqued (machine or hand) or raw edge?? I like this pattern a whole lot...thanks for the tutorial...hugs, Julierose neat colors
ReplyDeleteGreat instructions Randy! And a really cute quilt!
ReplyDeleteI love the Bulls Eye Quilt and your doll quilt. BTW, I have 45 of the bulls eye blocks already done from a couple years ago. I have a note to myself saying I need 19 more blocks, so I guess I was going to make it 7 blocks across and9 blocks long. I'll think about the size - I might want to make it bigger.
ReplyDeleteO.K., here I go! I'll cut this weekend, but I don't think I will be as ambitious as you. Mine will likely be a baby quilt! Love those small quilts. Funny when you posted them before I chose the one you made as my favorite, not knowing you made it is course. I love the one you ended up with as well. I have made that Lori Smith pattern before and I love it.
ReplyDelete